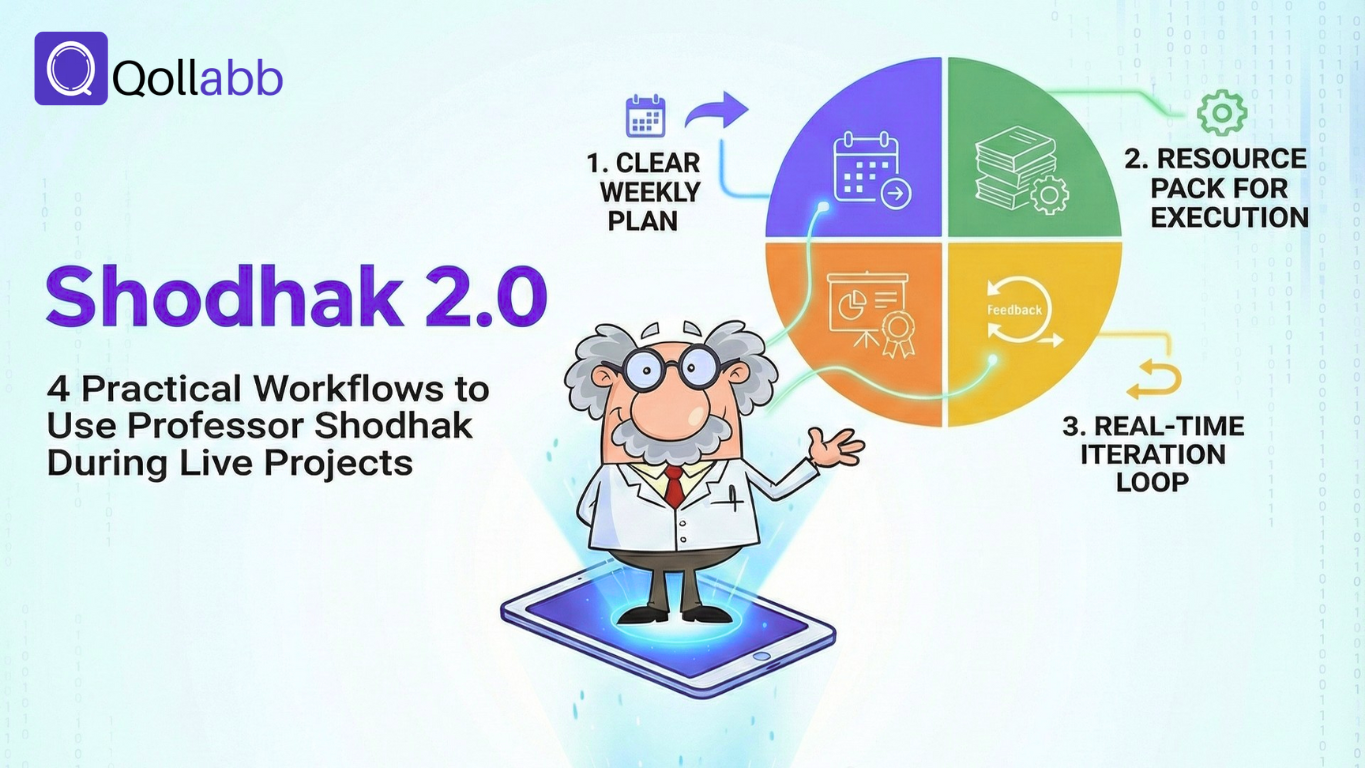
Let’s clarify what “Shodhak 2.0” means in this blog.
This is not a product announcement.
It’s a practical usage playbook -an upgraded way to use Professor Shodhak throughout a project, not only when deadlines hit.
Qollabb’s handbook describes Professor Shodhak as an AI -supported project guide that offers:
- Personalized guidance
- Resource integration
- Real -time feedback
- 24×7 availability
Those capabilities become most powerful when you use them as part of your project workflow: planning, researching, iterating, and packaging.
Here are 4 workflows students can run during live projects to improve clarity, quality, and consistency.
Workflow 1: From Brief → Clear Weekly Plan
Most projects don’t fail because students lack effort.
They fail because students don’t have a structure.
This workflow turns a project brief into a plan you can actually execute.
Step 1: Summarize the project in 5 lines
Write:
- What problem are we solving?
- What is the expected output?
- What is the timeline?
- What constraints exist (tools/data/time)?
- What does success look like?
Step 2: Convert the project into milestones
Create weekly milestones that answer:
- “What should be completed by the end of this week?”
- “What output can be reviewed?”
Step 3: Define a “Definition of Done” for each milestone
For each milestone, define what “finished” means in plain language.
Example format
- Milestone: “Draft solution approach”
- Done means: “Approach is written, tradeoffs explained, and ready for mentor review.”
How Professor Shodhak helps here
Use personalized guidance to clarify requirements and create a plan that fits your project context, then use real-time feedback to check whether milestones are aligned with deliverables.
Outcome of Workflow 1: a milestone plan that removes guesswork.
Workflow 2: Build a Resource Pack That Supports Execution (Not Just “Links”)
Most students collect resources and never use them.
This workflow ensures every resource supports execution.
Step 1: Create a “resource shortlist”
Build a list of 5 -7 resources you will reference:
- academic resources
- relevant case studies
- industry insights
Step 2: Add a “why this matters” line under each resource
Under every resource, write:
- “This helps me with ________ (milestone/task).”
- “I’ll use this to improve ________ (deliverable section).”
Step 3: Map resources to milestones
Example:
- Week 1: problem clarity + scope resources
- Week 2: approach/framework resources
- Week 3: validation/testing resources
- Week 4: presentation/reporting resources
How Professor Shodhak helps here
The handbook describes resource integration -pulling in academic resources, case studies, and industry insights relevant to your domain. That makes it easier to build a resource pack that actually matches the project.
Outcome of Workflow 2: your research becomes useful during delivery -not just “extra reading.”
Workflow 3: Real -Time Feedback While You Iterate (So Quality Improves Weekly)
The biggest difference between average and excellent projects is not talent.
It’s an iteration.
This workflow keeps improvement continuous instead of rushed at the end.
Step 1: Decide what you’ll improve this week
Each week, pick one target:
- clarity of problem statement
- strength of approach/method
- validation/testing
- documentation quality
- final presentation structure
Step 2: Run a weekly iteration cycle
Use a simple loop:
Draft → Feedback → Improve → Re -check
Step 3: Keep a short “change log”
Write 3 bullets each week:
- what changed
- why it changed
- what improved
This makes your improvement visible and makes evaluation easier.
How Professor Shodhak helps here
The handbook highlights real-time feedback and 24×7 availability. That means you can get feedback while refining drafts and improving deliverables -without waiting for scheduled reviews.
Outcome of Workflow 3: Quality rises over time instead of depending on last-minute effort.
Workflow 4: Package Your Project into a Portfolio -Ready Story
A strong project can still look weak if it’s presented poorly.
This workflow helps you package your work, so it’s easy to evaluate quickly.
Step 1: Write the 6 -part project story
Use this structure:
- Problem: what you solved
- Approach: how you solved it
- Output: what you delivered
- Contribution: what you owned and did
- Learnings: what you learned through execution
- Next steps: what you’d improve if you had more time
Step 2: Create a one -page summary
Turn the story into a one -page format:
- 3 -line overview
- key deliverables
- key decisions
- proof points (links/screenshots)
- short demo/walkthrough link (if applicable)
Step 3: Build a “proof bundle”
Include:
- final output link (report/deck/prototype)
- 2 -3 milestone versions (to show iteration)
- your change log summary
- your contribution statement (especially for teams)
How Professor Shodhak helps here
Use personalized guidance to refine clarity, use real-time feedback to strengthen messaging, and use resource integration to ensure your report/deck reflects domain-relevant standards.
Outcome of Workflow 4: your project becomes easy to understand -and easier to trust.
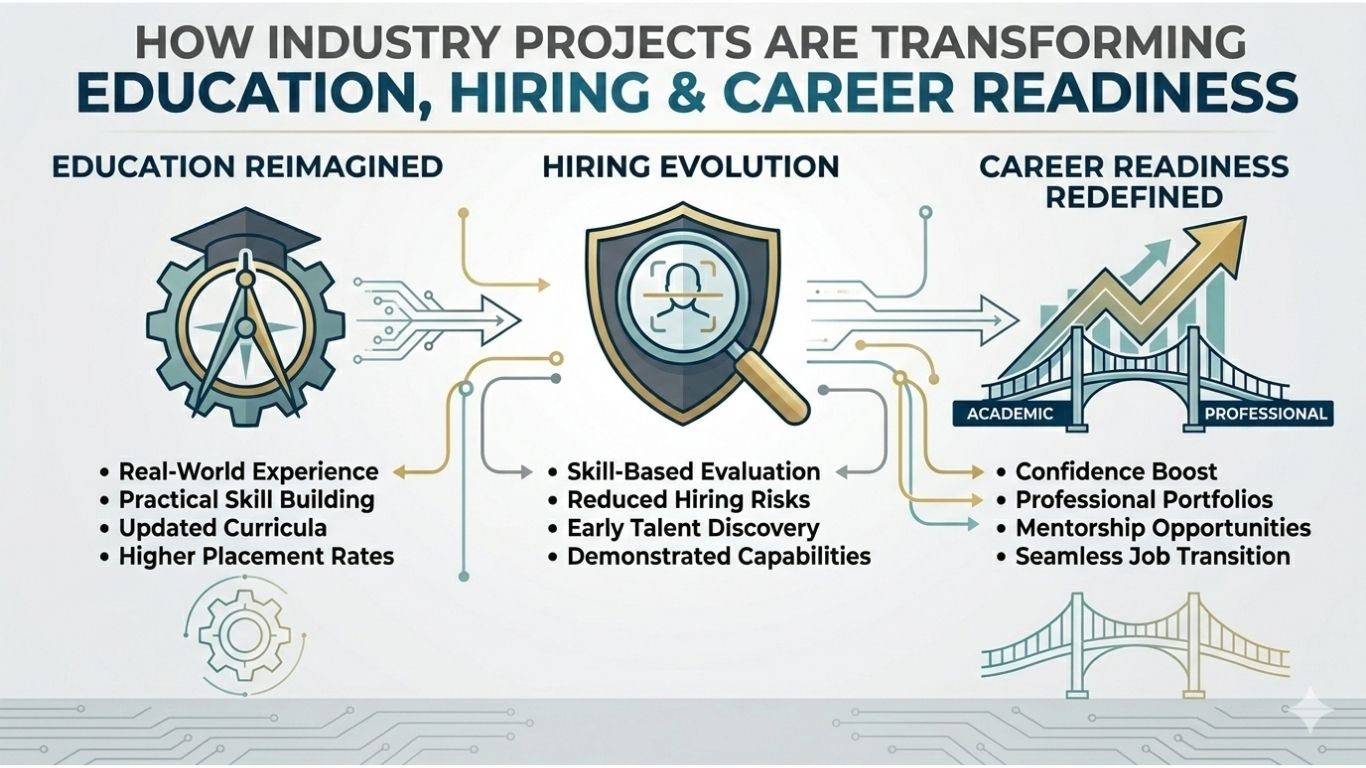
How Students, Universities, and Companies Benefit from These Workflows
Students
These workflows help you:
- execute with less confusion
- improve deliverables faster
- show progress clearly
- package outcomes in a professional format
Universities
When students use consistent workflows, universities get:
- more standardized deliverables
- easier evaluation readiness
- stronger project outcomes across batches
Companies
Better structure and packaging means:
- clearer skill signals
- easier performance evaluation
- more confidence in shortlisting based on actual work
Professor Shodhak’s capabilities -personalized guidance, resource integration, real -time feedback, and 24×7 availability -are most valuable when used consistently across the project lifecycle.
“Shodhak 2.0” is simply the idea of using Professor Shodhak as a workflow, not as a last-minute helper.
Plan better. Research smarter. Iterate weekly. Package professionally.
That’s how live projects turn into outcomes.